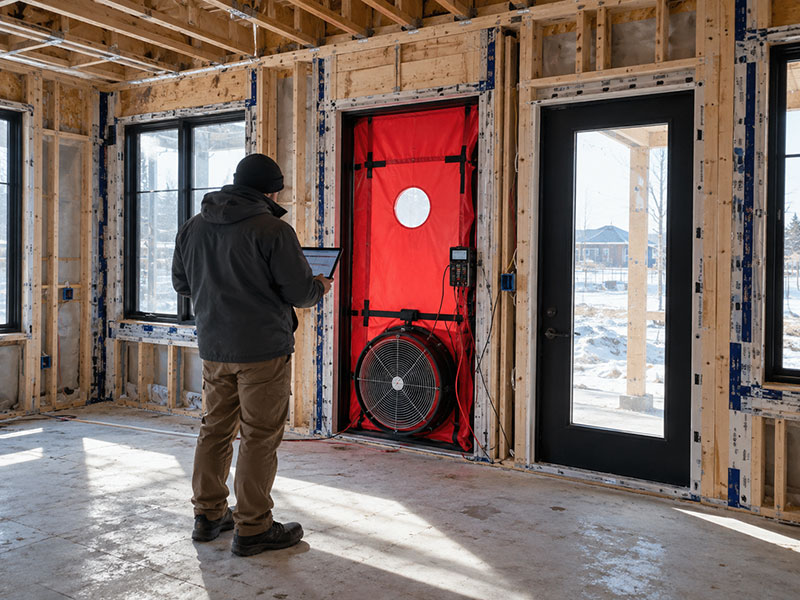
A failed airtightness test on a large Canadian building rarely stems from a single failure point. It typically reflects compounded issues at recurring locations: transitions between assemblies, unsealed penetrations, improperly detailed fenestration openings, or mechanical systems inadequately isolated during testing.
Systematically categorizing these failures is paramount. Design deficiencies, execution errors, and test-setup discrepancies each requires a distinct mitigation strategy; treating these categories interchangeably inflates project costs and compromises construction schedules. For buildings evaluated under ASTM E779 or the multi-zone protocols of ASTM E3158, and benchmarked against BC Energy Step Code or Toronto Green Standard targets, precise diagnosis safeguards both compliance timelines and enclosure performance. The table below identifies common failure vectors, their root origins, and the appropriate corrective measures. This assessment forms the foundational phase of Large Building Airtightness Testing protocols for Canadian commercial, institutional, and multi-unit residential developments.
| Problem Category | Typical Location | Usual Fix |
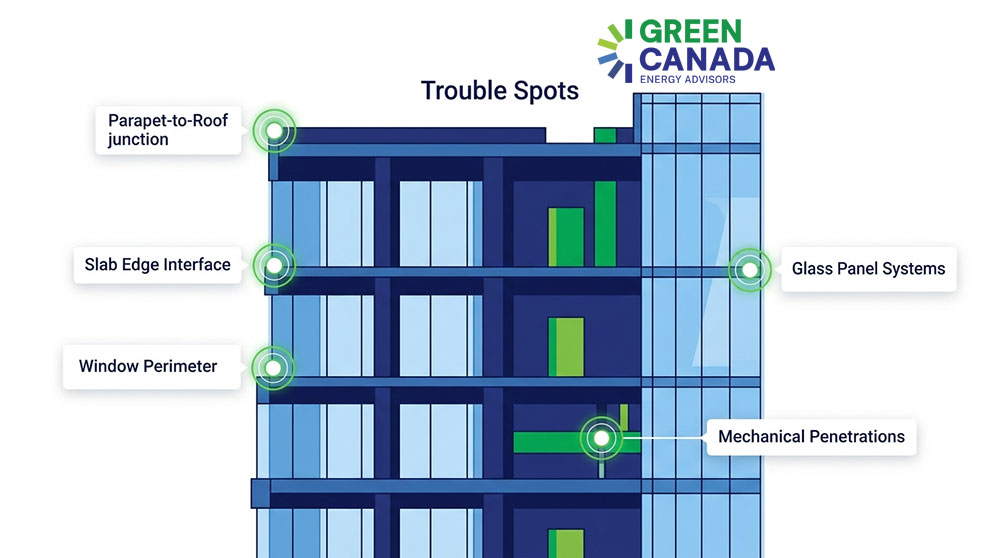
| Transition discontinuity | Parapets, slab edges, podium-to-tower interfaces | Re-detail and reseal the specific transition |
| Penetration sealing | Mechanical, electrical, and plumbing penetrations | Seal with air-barrier compatible materials |
| Rough opening detailing | Window and door perimeters, pan flashing | Reseal perimeter sealant and correct flashing |
| Mechanical system state | Dampers, exhaust fans, stair pressurization | Isolate systems correctly and retest |
| Design-level gaps | Continuous air barrier line not fully defined | Revisit detailing with the design team |
Why Transitions Fail More Often Than Flat Assemblies
The field of a wall, where a membrane or sheathing-applied barrier runs continuously across a flat surface, is usually the easiest part of the enclosure to get right. Problems concentrate where one assembly type meets another, since that’s where the air barrier has to change materials, change trades, or change direction.
Parapet-to-roof transitions, slab edge interfaces at floor lines, and podium-to-tower transitions on mixed-use buildings are recurring trouble spots. Each involves a handoff between crews working on different systems and schedules. These transitions are also where incompatible sealant chemistries quietly cause failures: a membrane formulated to bond well to concrete may not adhere properly to an aluminum curtain wall frame, leaving a joint that looks sealed but has no real long-term bond.
In our experience in testing large buildings across Ontario and BC, we consistently see failing numbers trace back to exactly these handoff points rather than the flat field of the wall. A curtain wall system terminating at a concrete slab edge depends on this kind of transition detail, and it’s easy to specify correctly on a drawing but harder to install consistently on site when the curtain wall and structural trades aren’t coordinating closely. When a test comes back with a failing number, checking these transition points and the compatibility of the materials meeting there is usually more productive than assuming the entire wall assembly is compromised.
Penetrations: A Small Detail with a Large Cumulative Effect
Large buildings have hundreds, sometimes thousands, of penetrations through the air barrier for mechanical, electrical, and plumbing services. Each one is a potential leakage path if it isn’t sealed correctly.
It’s worth being precise about what “sealed” actually means here. Firestopping and air sealing are not the same thing, and a penetration that’s been properly firestopped for fire resistance isn’t automatically airtight. Many firestopping materials are chosen for fire and smoke performance and were never tested for air leakage control.
A penetration needs to be treated as an air-sealing task in its own right, using air-barrier compatible materials, unless the product installed is specifically certified for both functions. Sequencing also causes more damage than workmanship in this category. A penetration gets sealed properly, then a later trade drills through it to add another service, and nobody goes back to reseal the new opening.
Garbage chutes, elevator shaft penetrations, and mechanical room walls tend to accumulate this kind of layered damage, since so many trades pass through them over the course of construction. A failed test in a building with heavy mechanical density is worth investigating penetration by penetration in these zones before assuming the air barrier itself is defective.
Rough Openings and Window Perimeter Detailing
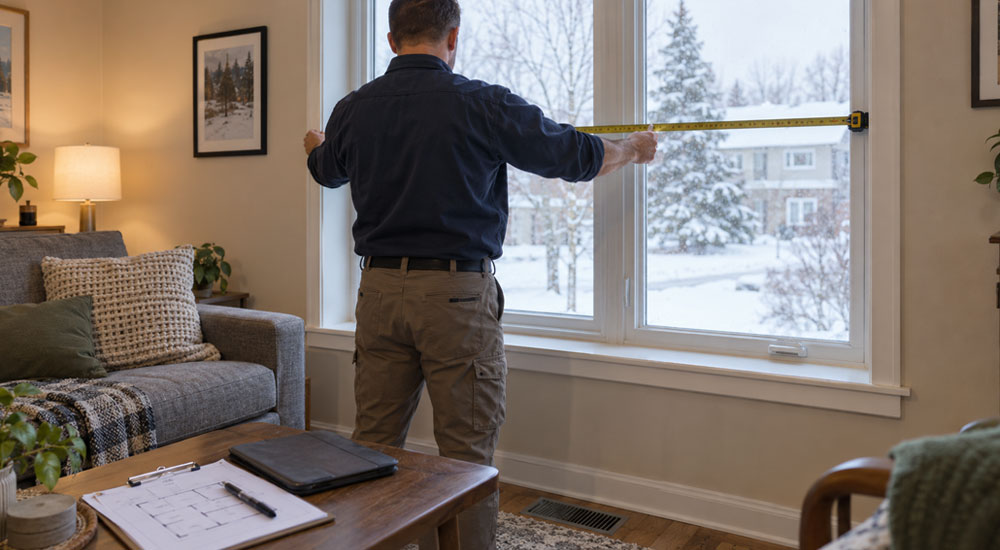
Window and door perimeters are another concentrated source of leakage. Usually, the failure isn’t the window unit itself but the interface between the frame and the surrounding wall assembly.
One of the most common and most overlooked culprits is pan flashing at the base of the rough opening. When pan flashing is missing, installed with the wrong slope, or sealed incorrectly at the corners, air can find a path underneath the window frame that’s essentially invisible once trim and cladding go on.
This shows up as either a design gap, if the drawings never specified proper pan flashing at that condition, or an execution error, if it was specified but not installed correctly. Figuring out which one it is changes how the fix gets handled. On large buildings with hundreds of window units, even a small percentage with poorly detailed rough openings and flashing can meaningfully affect the whole-building leakage rate.
This is also one of the clearest arguments for mid-construction testing, since it happens before cladding closes in the perimeter detail and can catch a flashing problem while it’s still a simple fix.
Mechanical Systems and Test-Setup Problems That Look Like Air Barrier Failures
Not every failed test reflects a genuine air barrier problem. A damper that was simply switched off rather than physically isolated can still leak once the building is pressurized to the test protocol’s target differential, since air moving through fan blades or an unlocked damper doesn’t stop just because the unit isn’t running.
That elevated pressure is worth understanding on its own terms. A test typically pressurizes the building to around 75 pascals, well beyond the sustained differentials experienced under typical building operation, providing a standardized, repeatable metric to assess enclosure continuity regardless of the wind or stack effect conditions on any given test day. On tall buildings, stack effect in a Canadian winter or gusting wind on upper floors can already push real-world pressures into a similar range, which is exactly why testing at a fixed, elevated differential matters: it isolates the enclosure’s actual performance from whatever conditions happen to exist outside on test day. At that higher differential, a small gap that leaks very little under normal conditions can behave like a significant air path, which is part of why a test can fail even on a building that performs reasonably well in everyday service.
This is also where cold-climate consequences go beyond energy loss. Air leaking through a wall assembly in a Canadian winter carries interior moisture into the cavity, where it can condense against cold surfaces and, over time, contribute to frost formation or hidden moisture damage inside the wall. That’s one reason airtightness performance gets treated as seriously as it does in Canadian building science, not just as an energy metric.
Reviewing whether mechanical systems were properly isolated, whether the test boundary was defined correctly, and whether temporary construction openings outside the current scope were properly excluded is usually the first step after a failure, before assuming the enclosure itself needs corrective work.
Design-Level Gaps Versus Execution Errors
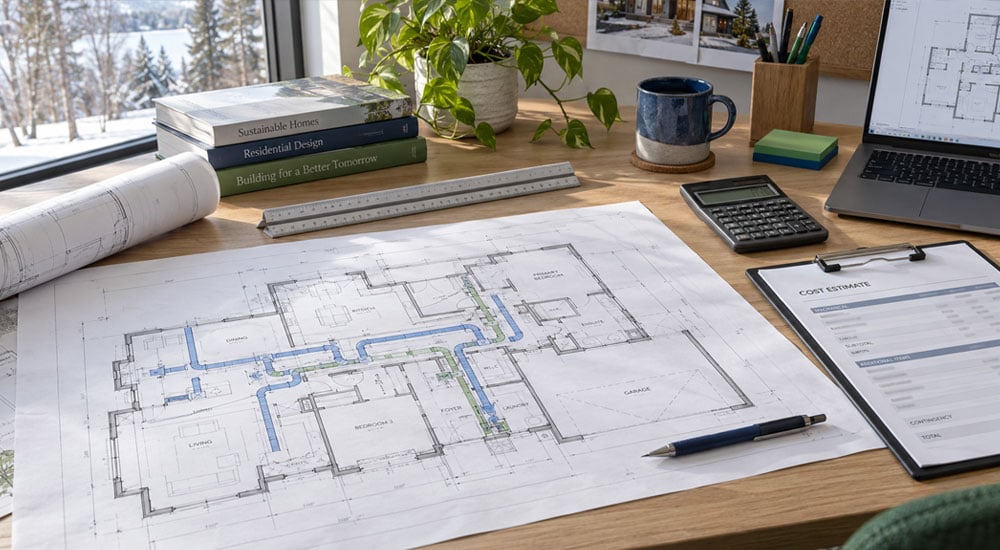
Some failures point to a genuine gap in the design rather than a workmanship problem on site. If the continuous air barrier line isn’t clearly defined across a complex transition on the drawings, or two different consultants detailed adjoining assemblies without coordinating the interface between them, the resulting gap can be effectively unbuildable no matter how careful the installing crew is.
The best point to catch this is during shop drawing review, before construction reaches that detail at all. Envelope consultants increasingly treat shop drawing review as part of their airtightness scope rather than something to sort out after a failed test. A workmanship issue can usually be corrected in place with better sealant application or a redone joint, while a design-level gap needs the design team to revisit the detail, or the same problem repeats at every similar location on the building.
Diagnosing a failed test effectively means working through a short sequence rather than jumping straight to remedial work:
- Start with a pre-test verification walkthrough confirming mechanical isolation and boundary definition, similar to a commissioning review
- Identify which zones or areas of the building contributed most to the failing number
- Check transitions, penetrations, and rough openings in those zones first, since they account for most failures
- Distinguish whether the problem is a workmanship error, a design-level gap, or a boundary and sequencing issue
- Schedule corrective work and a retest only once the root cause, not just a symptom, has been identified
Conclusion
A failed airtightness test is frustrating, but it’s rarely a mystery once the building is investigated systematically. Most failures concentrate at transitions between assemblies, at penetrations that accumulate damage over the course of construction, and around window and door perimeters, with a smaller share coming from test-setup issues or genuine design-level gaps rather than the field of the wall itself. Working through the likely causes in order, starting with a verification walkthrough rather than assuming the worst and reopening finished assemblies at random, usually gets a project to a passing retest faster and with far less unnecessary cost.
If you’re facing recurring airtightness failures on a complex site, we specialize in enclosure commissioning and mid-construction testing to identify these gaps before they become costly defects. Reach out for a project-specific consultation.