Quick answer: mid-construction testing is done while the air barrier can still be reached and repaired, and it’s meant to catch problems early. Final Airtightness Testing measures whole-building performance once everything is closed up, and it’s typically the reportable result used for code compliance and certification review. Many large projects are better served by booking both, and which one to prioritize depends on how complex the enclosure is and how much room the schedule leaves for fixes.
The two tests differ enough in purpose, access, and outcome that it helps to compare them directly before deciding what a given project actually needs.
| Factor | Mid-Construction Testing | Final Airtightness Testing |
| Timing | Once the air barrier has continuity but before concealment | Near substantial completion or occupancy |
| Primary goal | Identify leakage paths while repair access still exists | Confirm whole-building performance for compliance |
| Access to enclosure | Open access to walls, joints, and penetrations | Limited to sealed, finished assemblies |
| Cost of corrective work | Typically, simpler and less disruptive | Often requires reopening finished assemblies |
| Typical use | Diagnostic quality assurance | Code, certification, and commissioning sign-off |
Defining the Mid-Construction Testing Window
The phrase “mid-construction testing” gets used loosely, and that vagueness is part of why builders struggle to schedule it well. In practice, the window that gives the most useful results is once the air barrier has reasonable continuity across a zone or floor, but before insulation, cladding, or interior finishes go in over it. Testing too early, before enough of the barrier is installed, produces numbers that are hard to interpret and boundaries that don’t hold up under scrutiny. Testing too late, once finishes have already started, removes most of the practical value of doing an interim test at all. On phased or floor-by-floor projects, this often means testing a representative zone or compartment rather than the whole building, since waiting for full enclosure closure would defeat the point of testing early.
What Mid-Construction Testing Involves
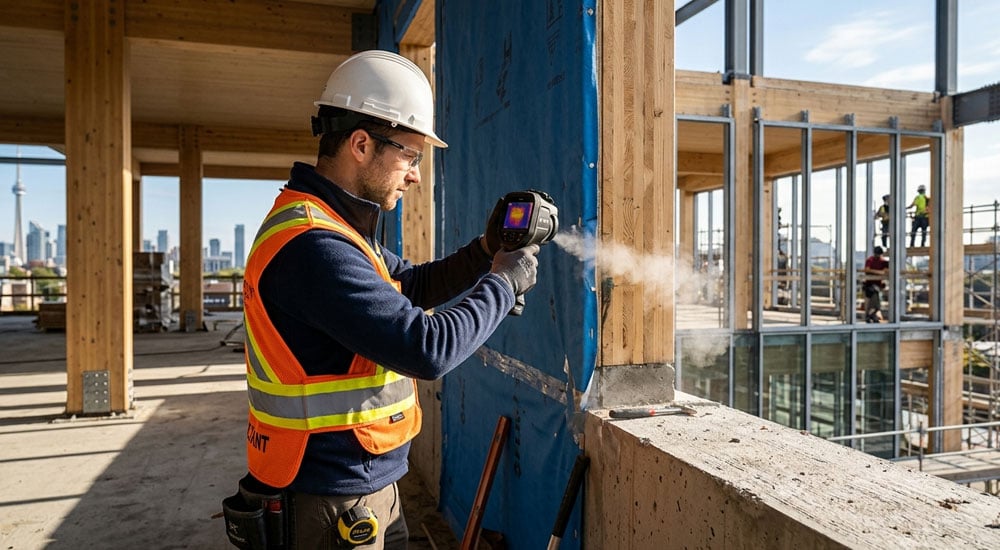
Mid-construction testing generally uses fan pressurization methods similar to those in ASTM E779, but the setup and interpretation lean more diagnostic than a reportable compliance figure. It’s less a scaled-down version of the final test and more a working tool for the site team: testers coordinate with the crew to seal off openings that aren’t yet part of the finished enclosure, then pressurize or depressurize the zone while walking the assembly with smoke pencils or thermal imaging to find weak points. This is where field-specific friction actually shows up. Curtain wall transitions, slab edge interfaces, window rough openings before perimeter sealing is finished, roof-to-wall continuity at parapets, and mechanical shaft penetrations are common places where the barrier looks fine on paper but leaks heavily under pressure. On one job, a podium-to-tower transition looked properly sealed from the working platform, but smoke tracing pulled straight through a gap at the transfer slab edge that the sealant crew hadn’t gotten to yet — the kind of detail that’s a five-minute fix before cladding goes up and a multi-trade headache after.

What Final Airtightness Testing Involves and Where It Falls Short
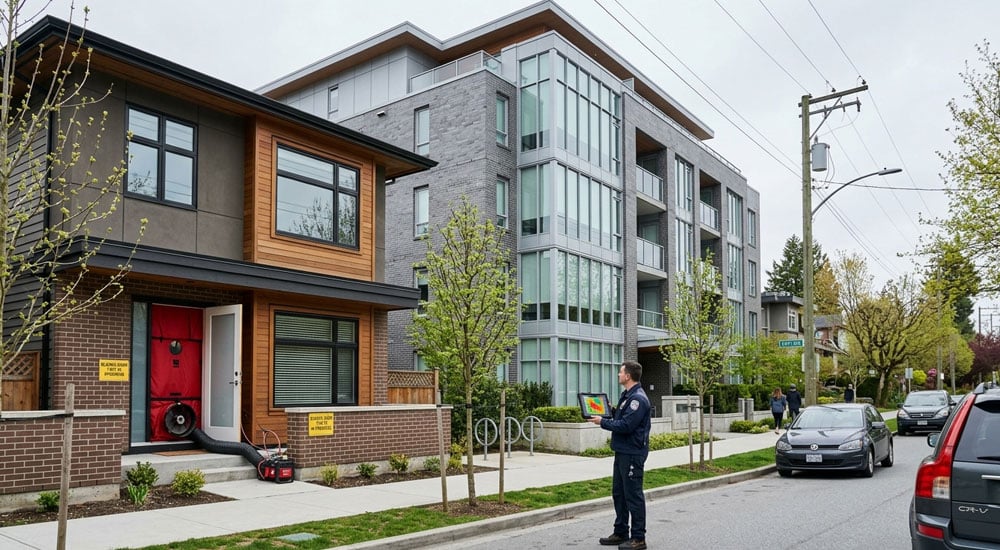
Final testing follows a stricter protocol because the result usually feeds directly into code compliance, energy modelling, or certification documentation. For large or multi-zone buildings, this often follows ASTM E3158, which addresses whole-building or multi-zone leakage measurement rather than the single-zone approach used on smaller residential blower door tests. Results are commonly reported as a normalized leakage rate at 75 pascals, expressed in liters per second per square meter of envelope area, since this scales more sensibly across large buildings than the air changes per hour figure typically used for houses. This is also the stage where guarded versus unguarded testing, zone neutralization, and stack effect constraints become important, since getting the boundary or the pressure differential wrong can shift the reported number either way. Scheduling adds its own pressure too: late-season weather, a partially conditioned interior, or a building not yet fully ready for occupancy can narrow the testing window, and the cleanest date on paper isn’t always the date the site can actually support. What final testing doesn’t do well is diagnosis. It can confirm that a building misses its target, but once systems are closed up, shaft leakage, concealed transitions, and multizone flow paths are far harder to isolate, and corrective work at this stage can mean reopening finished assemblies across several trades at once.
Air Tightness Testing Strategy: Choosing the Right Test Sequence
Rather than treating this as a single yes-or-no choice, most project teams are better served by matching the testing strategy to the specific risk profile of the building. In practice, the sequencing tends to break down along these lines:
- Simple enclosure, comfortable compliance margin, no history of failed tests → a final test on its own may be reasonable
- Complex transitions, a tight compliance target, and little float left in the schedule → book both stages
- A similar building type or an earlier phase that has failed final testing before → an interim check is worth the extra step regardless of how simple the current design looks
- Phased construction or repeated floor plates → test a representative zone early, then run the whole-building final test once the project closes out
On many higher-performance Part 3 projects in Ontario and British Columbia, teams are now working toward explicit airtightness targets tied to a specific compliance pathway rather than a simple prescriptive minimum, and that kind of risk-based sequencing tends to hold up better than a blanket rule applied to every project.
Conclusion
Treat mid-construction and final testing as two different tools rather than two versions of the same question. One tells you where a problem is while you can still get at it; the other tells you whether the building actually meets its target once nobody can get at it anymore. Skip the first and a design flaw stays invisible until it’s expensive to fix. Skip the second and you never actually know if the building performs. Match the sequencing to the enclosure’s own risk profile, and the testing schedule takes care of most of the surprises on its own.